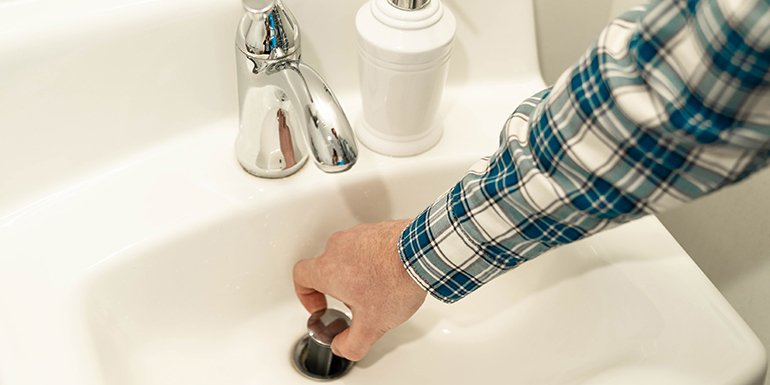
Installing pop-ups isn't as complicated as it may appear, however the difference in the fittings may make it a bit challenging. To get the job done fast, you need some essential tools like plumbers putty, channel-type pliers, pop-up drain kit and pipe-joint compound.
However, if you're in need of professional assistance, then call Mr. Rooter Plumbing of Youngstown, and our team of highly skilled plumbers in Youngstown OH will be right on time.
Get the Area Ready
First off, flush the water from the sink and clean it up. Then use a shop vac or cup to prevent water from interfering with your work. Since the sink isn't completely devoid of water, it's also ideal to place a bucket under the sink.
Remove the Drain Assembly
If you take a close look under the sink, you will notice the pop-up lift rod and the old drain assembly. Taking out the old drain assembly is the most challenging aspect of the work. By means of the channel-type pliers loose the P-trap from the sink drain tailpiece and the branch drain. The old pop-up assembly is the next thing to remove. The mounting nut on the tail piece of the old drain assembly is to be removed using channel-type pliers. When this is done, lift the assembly clear of the sink.
Install New Drain Flange
Thoroughly clean the sink of old plumbers putty around the drain hole. Then apply a generous amount of fresh plumbers putty around the bottom area of the chrome ring. You are good to go when the underside is well greased.
Preparation of the Bottom Assembly
In preparing the bottom assembly, apply a thin layer of pipe joint putty on the rubber washer. The main aim of applying the pipe joint compound is to make sure that a good seal is provided on the bottom of the opening in the sink drain. Though the joint compound isn't a necessity but without it getting the rubber to seal might be problematic. For the rubber gasket to have a good seal, the bottom assembly is to be pushed up through the sinks bottom.
The top flange is to be screwed into the bottom assembly that is evident from the top of the sink. With the aid of pliers or wrench, the lock nut which is located on the bottom assembly is to be tightened. The excess amount of putty applied earlier will then squeeze out both on the sinks surface and between the rings. Wipe it off with the aid of a rag.
Install the Drain Stopper
The pop-up stopper is to be pushed down into the top of the drain. While this is done, ensure that the hole directly faces the rear of the sink. The ball of the stopper unit should be inside of the nut, threaded into the pipe. When this is done, ensure that the unit is functioning by pushing on the rod. If the drain moves freely in an upward and downward direction the unit works. When this is ascertain, tighten the net but if the opposite is the case continue moving the stopper around till it eventually catches the rod.
Install the Pop-up Lever
The pop-up lever is just behind the faucet, it has the sole responsibility of controlling the position of the drain stopper.

Before any connection of the horizontal pivot rod is made to the vertical lever, ensure that the stopper is positioned upwards (open).
Call us Today
At Mr. Rooter plumbing of Youngtown are a team of professional plumbers ready to offer effective and affordable services. We offer top-notch services, ranging from plumbing installation Call us today for drain cleaning services in Youngstown area!!!